Manual pour-over brewing methods have recently seen a resurgence in popularity among coffee aficionados because they afford complete control over all aspects of the coffee-making process. By adjusting a single variable, an experienced brewer can bring out notes in a specific coffee, and a home coffee aficionado is able to craft a cup to their specific liking. The following is a guide to help you get started with manual pour-over brewing.
Equipment Needed
In order to fine-tune the brewing process, you will need some additional equipment. Along with a pour-over setup and filters, look for:
- a timer
- a kitchen scale
- a gooseneck kettle
If you don’t already have a timer and kitchen scale, the Hario Coffee Drip Scale and Timer acts as both and is precise. Alternatively, you can use a kitchen scale and your smartphone.
A gooseneck kettle is not required, but it helps when pouring water over the grounds. The gooseneck reduces how much the water disturbs the grounds, and it helps you pour in concentric circles with more control.
Step 1: Boil Water
Coffee brews best in water that is between 195 and 205 degrees Fahrenheit. Unless your kettle has a thermometer, the easiest way to bring water to this temperature is by boiling it and letting it cool for 30 seconds. If you have a thermometer, aim to use coffee that is 200 degrees Fahrenheit.
You’ll want to boil at least 800 g (0.8 L) of water. Of this, 500 g (0.5 L) will be used to brew the coffee, and the remaining water will be used for rinsing the filter and cleaning.
Step 2: Grind Coffee
For most manual pour-overs, you will need 30 g of coffee. This will make about 18oz coffee (just over 2 cups). Grind the coffee on a coarse-sand setting. If you’re using either the Baratza Encore or Baratza Virtuoso grinder, start with a setting at the halfway point.
Once your coffee is ground, set up your pour-over with a filter and the coffee. Rinse the filter before placing the grounds in it. Place the filter on top of the scale and tare it out after you add ground coffee.
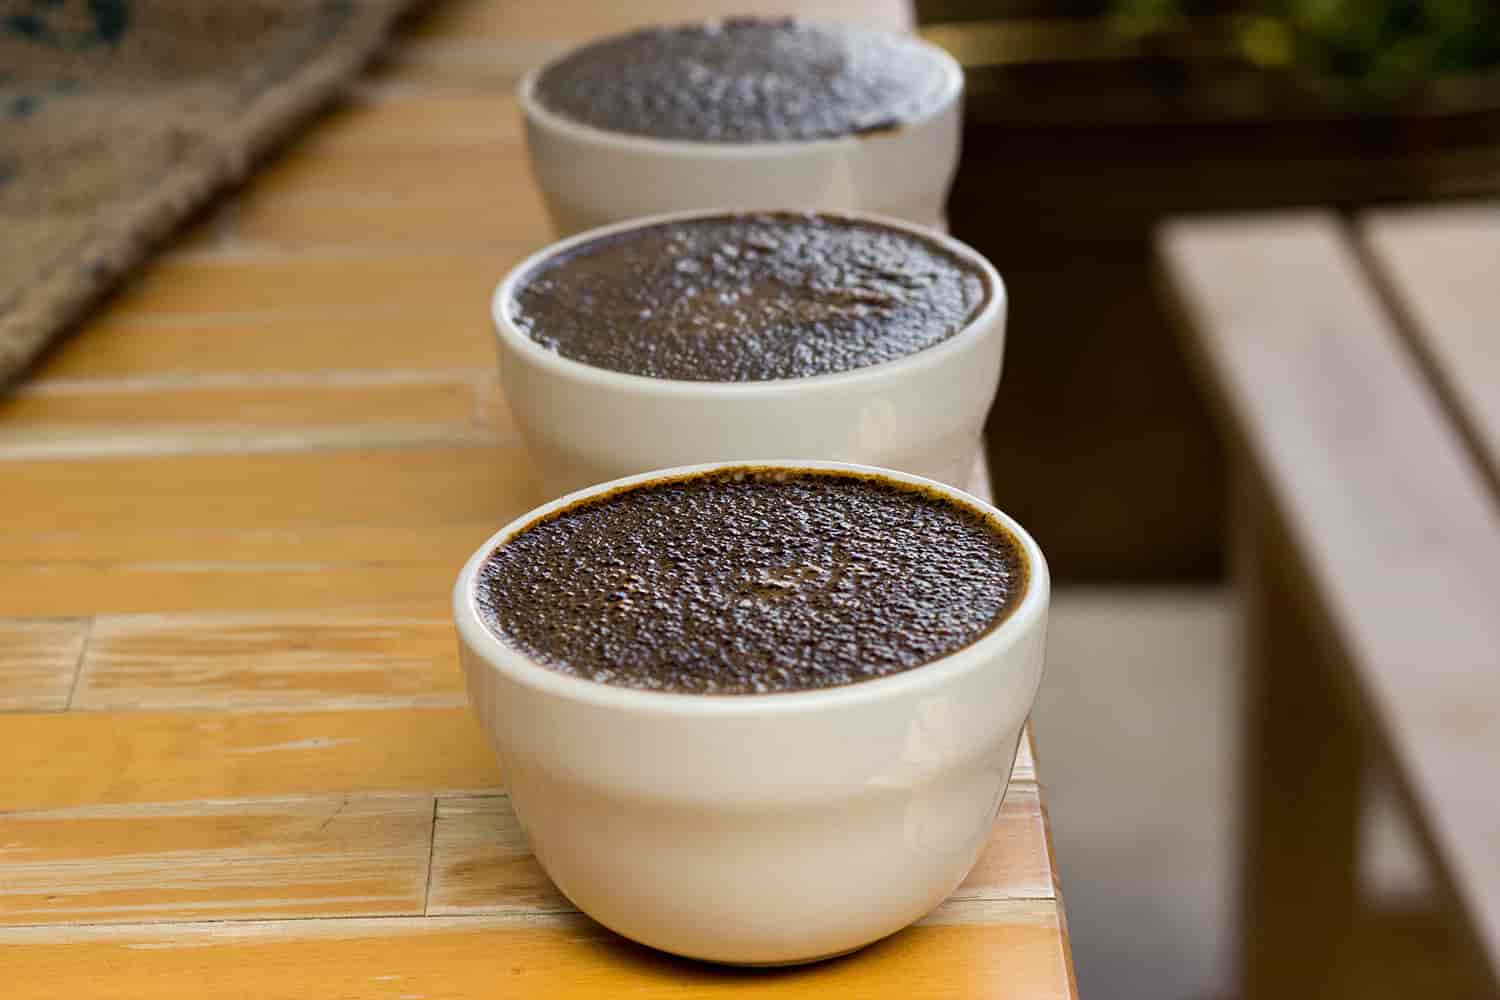
Step 3: Let It Bloom
To let your coffee bloom, pour just enough water over the grounds to make them wet (50 to 80 grams). If the coffee is freshly roasted, carbon dioxide will bubble up. How long your coffee should bloom for depends on when it was roasted:
- let coffee roasted between 3 and 14 days ago bloom for 30 seconds
- let coffee roasted less than 3 days ago bloom for 40 seconds
- coffee roasted over 2 weeks ago bloom has a negligible effect but is good for practice
(Don’t know what bloom is? Read our blog post to learn more!)
Step 4: Brew
To start brewing, pour half of the water used for brewing (250 g) in small, concentric circles. Begin in the middle and slowly work your way outwards in circles, always with a consistent, gentle pour. This first 250 g should be poured in the first minute of brewing.
A minute into the brewing process, slow your pouring rate to 50 g of water every 20 seconds. Aim for 500 g at exactly 3 minutes for pouring and allow the coffee to take 4 more minutes to finish brewing.
Have Fun
This is a basic guide for brewing coffee with a manual pour-over; it’s designed to help you become familiar with the process. Over time, you may want to make slight modifications to these steps. When you make a change, alter only one variable at a time. This way, you’ll be able to taste how the change affects the coffee’s flavor.
Have fun experimenting with pour-over brewing. After all, one of the main reasons to use a manual pour-over is so that you can control and adjust any part of the brewing process.