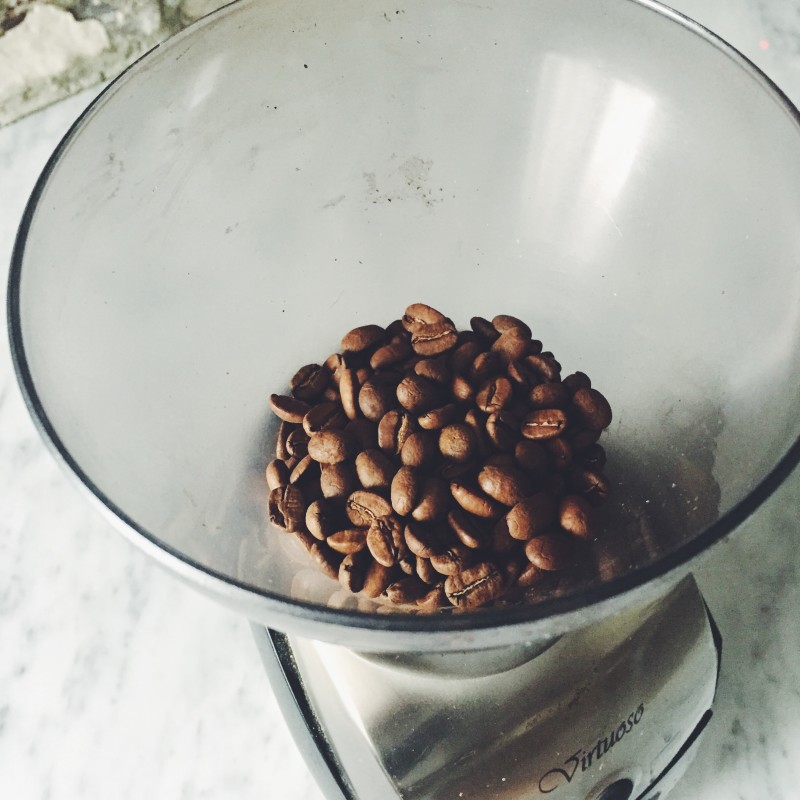
Coffee grinders, like any piece of equipment, need an occasional deep cleaning. Over time, coffee dust will infiltrate every nook and cranny of a grinder, and oils will coat the hopper, burrs and grind chamber. If not cleaned out, fine particles can overwork a motor and cause it to fail, and oils can go rancid and ruin future brews. If you grind coffee at home, here’s how to give it a thorough cleaning and remove all of these coffee pieces, dirt and oils.
(The following guide assumes you have a burr coffee grinder. If you’re using a blade grinder, we’d recommend carefully wiping it clean with a paper towel, donating it to your local thrift store and purchasing an inexpensive burr grinder.) Or use it to grind spices :)
Grinders Need Occasional Deep Cleaning, Even If You Use Rice
Rice is used by some people to clean out coffee grinders, which is a practice that has its own advantages and disadvantages. (Using rice to clean your grinder may void its warranty. Check your user’s manual to see whether it will.)
On the one hand, running rice through a grinder as you would coffee provides an easy way to remove a lot of the coffee dust and oils that build up over time. As the rice grains are ground, they’ll push out the dust and absorb the oils — and you don’t need to disassemble the grinder.
On the other hand rice, grains are harder than coffee beans, and grinding them can strain a grinder’s motor. Additionally, the starches in rice can clog some non-commercial grinders.
Dry quick-cook rice is softer and less starchy, and thus, reduces the risks associated with using rice. Even if you clean your grinder out with rice, though, you’ll still need to disassemble your grinder occasionally and fully clean it. Rice won’t clean all the crack and crevices. Here’s a table of how frequently you should clean your grinder:
| Dust Off Excess Grounds | Every Day |
| Wipe Out the Hopper and Grind Chamber | Every 1 to 2 weeks |
| Deep Clean | Every 3 to 6 Months |
How to Clean Your Coffee Grinder, Step by Step
Cleaning your coffee grinder isn’t difficult, but there are several steps involved. To clean your grinder:
- Turn it off and unplug it.
- Remove the hopper and grind chamber. Wipe these out with a lint-free cloth or coffee filter to remove any coffee dust and oil buildup. (Don’t use a paper towel, as it will leave lint.) If there is stubborn oil residue, you can clean these components with a mild soap and warm water. Make sure to immediately rinse them so soap flavors don’t contaminate them, and fully dry them so they don’t get the burrs or motor wet, which could cause corrosion.
- Remove the outer burr by gently twisting it until it lifts out of the grinder. Leave the inner burr in place, as it’s much more difficult to remove.
- Clean both burrs, as well as the chute of all coffee particles, dust and oils. Any place you can see or reach should be cleaned. A vacuum, compressed air, toothpick, brush and lint-free cloth can all be helpful with this step. (Make sure not to vacuum up or lose any loose screws)
- Reassemble your coffee grinder.
- Grind 10 to 20 grams of coffee.
In total, this process should take you 10 to 15 minutes.
If you don’t know whether it’s safe to remove a specific piece, how to remove a piece or how to reassemble your grinder, consult your owner’s manual.
The final step, grinding a little coffee, is important for two reasons. First, it gives you an opportunity to calibrate the burrs if needed. Second, while too much oil buildup isn’t good, having a thin coating of coffee oil on your grinders’ burrs will help prevent oxidation and rust. Just grinding a handful of beans will provide this thin coating.
Get Freshly Roasted Coffee to Grind at Home
If you’ve invested in a decent burr coffee grinder, make sure you take proper care of it and clean it once in a while. If you’re looking for great coffee to grind fresh each day, try one of our coffee subscriptions. The first shipment is only $8.


