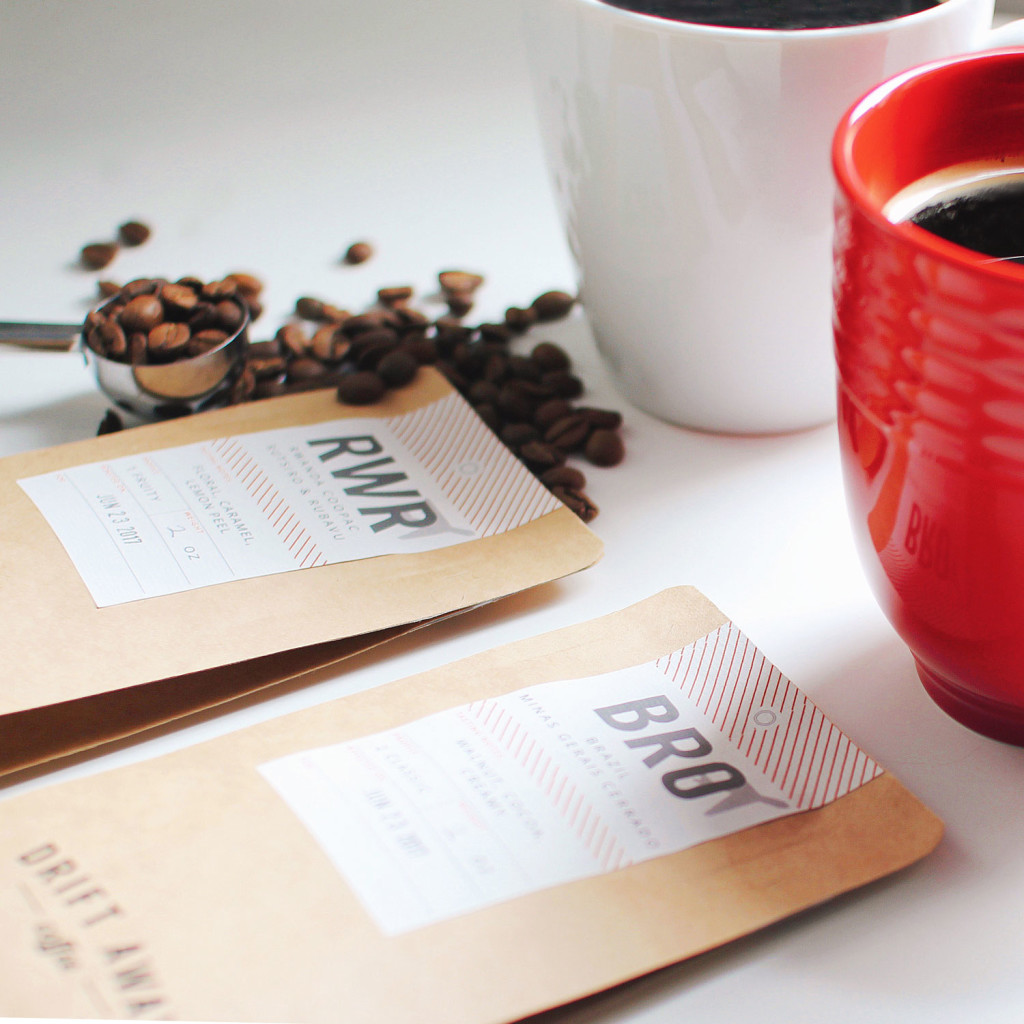
At Driftaway Coffee, we like to introduce our five different coffees through the Coffee Explorer Box. It’s a great way to get to know our Fruity, Classic, Balanced, Bold, and Extra Bold Profiles.
If you’re just starting to explore our different coffee profiles, here are three different ways to approach the Coffee Explorer Box. They range from a quick tasting that takes no longer than brewing our coffee like you normally would, to a side-by-side tasting that highlights more but also requires more time. The different approaches are:
- The Straightforward Slurping (an extra minute)
- The Side-by-Side Tasting (an extra 30 minutes)
- The Professional-Quality Cupping (an extra hour)
THE STRAIGHTFORWARD SLURPING: FOR PEOPLE PRESSED FOR TIME
The Straightforward Slurping technique is ideal for those who don’t have a lot of time and want to quickly pick the profile(s) they like best.
This approach involves little more than brewing your coffee as you normally would. Brew your coffee, and then take a few moments to savor it when you go to drink it. If you have a couple of minutes, take a moment to smell the grounds before brewing, and try slurping the coffee with a soup spoon or teaspoon to better identify unique flavors. (Slurping helps in three ways: 1. It helps the coffee make contact with all of your taste buds, not just the ones on your tongue. 2. It mixes the coffee with oxygen and turns some of it into a gas, sending it up into your retronasal cavity. You're actually using your nose with 80% of the things you taste, so this gives an extra boost. 3. Drinking the coffee this way helps to avoid burning your tongue!)
Brew a different coffee in the Coffee Explorer kit each day or every couple of days, depending on how quickly you go through the beans. Remember which ones you like best and which ones don’t match your preferred profile, and let us know via your account. Just let us know which ones were loved and which you didn't love so much (we have convenient heart and broken-heart icons for you to use). We'll help you adjust future shipments based on these simple notes that take just a few taps or clicks.
Despite how easy the Straightforward Slurping method is, it still does a good job showing how the coffee profiles differ from one another. Because you’re brewing the coffee like you always do, you’re getting an accurate idea of how each coffee profile will taste when you brew it on a normal day.
THE SIDE-BY-SIDE TASTING: FOR DRINKERS WHO WANT TO COMPARE COFFEES SIDE-BY-SIDE
The Side-by-Side Tasting is for those who are interested in carefully comparing each coffee, but don’t have the interest or time to learn how to do a cupping. This technique requires about a half-hour of time that can be devoted to brewing and tasting the coffees. The benefit of this time investment is being able to compare each coffee side-by-side.
For the Side-by-Side, brew each coffee as you normally would. This will ensure you’re getting a true sense of how each coffee will taste when made with your brew method.
Instead of trying the coffees over the course of a week or so, though, taste them side-by-side. Brewing the coffees all at once could take as little as 10 minutes if you have four identical coffee makers you can use simultaneously. Assuming you have only one or two, though, it’ll likely take closer to 30 minutes to brew the coffees. Place each coffee in a carafe or travel mug to keep it warm while you're brewing the others. (The coffees should all be brewed via the same method so that you’re comparing differences in the beans and not in the brewing techniques.)
Once the coffees are brewed, taste each of them both while they're hot and then while they're cooler. Tasting at different temperatures will reveal different flavors: the closer the coffee is to our own body temperature, we can taste different things!
Because it’s best to go from lightest to darkest, you’ll want to proceed in the following order for each tasting:
- Fruity Profile
- Balanced Profile
- Classic Profile
- Bold Profile
- Extra Bold Profile (if applicable)
Cleanse your palate with some water in between, and don’t be afraid to go back and forth between the coffees once you’ve tried them all at a particular temperature. With the coffees right next to each other, you’ll notice many differences between the various coffee profiles. Think not only about which ones you prefer, but try to identify why you like the profiles you do.
As you taste each coffee, log into your account and record what you note about the coffee. In addition to letting us know which you loved and didn't love, there's a place to rate coffees on a 100-point scale, record tasting notes, record other notes, rate the body and rate the acidity. As you taste and record more and more coffees, we'll keep track of your tasting history.
THE PROFESSIONAL-QUALITY CUPPING: FOR CONNOISSEURS WHO WANT THE FULL EXPERIENCE
The Professional-Quality Cupping is for true connoisseurs who are willing to invest time into their tasting experience. Assuming you’ve not done a cupping before, this will normally take between 30 and 60 minutes. The reward is the most detailed coffee tasting experience possible. This is how roasters taste coffee.
In a cupping, it’s easy to brew multiple cups of coffee at once because the coffee’s brewed directly in mugs. If you’ve not seen a cupping, though, going through the process can take some time to learn -- and the tasting should not be rushed since that’s the whole reason to go through the effort of learning how to cup coffee.
The Specialty Coffee Association of America has specific cupping standards you can review. With some minor adaptations, here’s how to cup the coffees in our coffee explorer kit at home:
- Select four or five similar coffee cups or mugs. These ideally should hold between 7 and 9 ounces and have lids. They certainly should be ceramic or glass. (A set of identical teacups may work well, although you might need to change the amount of coffee and water used to match their volume.)
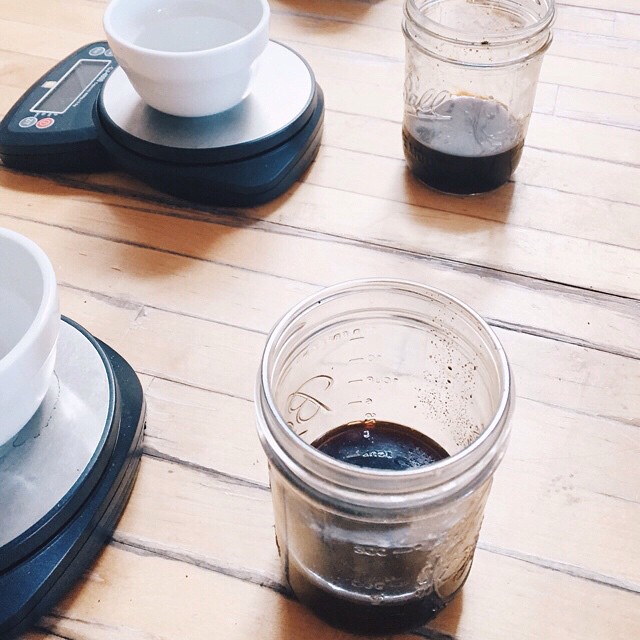
- Measure out 8.25 grams of coffee for 150 milliliters of water. (Alternatively, use 1.63 grams per fluid ounce of water -- it’s the same ratio.)
- Heat the water to 200 degrees Fahrenheit, or at least between 195 and 205 degrees.
- While the water is heating, grind the coffee on a coarse grind.
- Place the grounds in the bottom of a cup.
- Add hot water, and let brew for 4 minutes.
- After 4 minutes, break the crust with a spoon.
Be sure to stop at each step and smell the coffee, and then slurp it with a spoon to note all the nuanced flavors in the beans. As you compare each coffee, take notes on what you observe. These will be the basis for your profile selection, and they can form the beginning of a long coffee journal. If you’re looking for more information on tasting coffee, you might be interested in:
- How Coffees from Different Parts of the World Taste -- and How We Roast Them
- Roast Levels -- What’s the Difference Between Light Roast, Medium Roast and Dark Roast?
- What is Body and Mouthfeel in Coffee Taste?
GET A COFFEE COFFEE EXPLORER KIT
Of course, you need coffee to conduct a coffee tasting! If you don’t already have it, consider getting a coffee subscription.


